10 Minute Air Fryer Egg Cups So Fluffy & Delicious
Imagine waking up to perfectly portioned, protein-packed breakfast cups that are ready in minutes. These air fryer egg cups are fluffy, customizable, and absolutely delicious! I discovered this recipe during my hectic weekday mornings when I needed something quick but satisfying.
Whether you’re feeding picky kids or meal-prepping for the week, these little beauties will transform your breakfast routine forever!
What Are Air Fryer Egg Cups?
Ever wondered why we call them “cups” when they’re really mini egg muffins? Here’s the fun part – these are essentially eggs baked in muffin-shaped portions, loaded with your favorite ingredients, and cooked to perfection in your air fryer.
They say the way to a man’s heart is through his stomach, but I’d argue these egg cups are the way to EVERYONE’s heart! The name comes from their adorable cup shape that makes them perfect for grab-and-go mornings. Trust me, once you try these, you’ll be making them on repeat!
Why You’ll Love This Air Fryer Egg Cups Recipe
Budget-Friendly Breakfast Solution
Let’s talk money, honey! Making air fryer egg cups at home costs a fraction of what you’d spend at your local coffee shop. A dozen eggs and some basic ingredients can give you a week’s worth of breakfasts for under $5. Compare that to $4-6 per breakfast sandwich at a café, and you’re looking at serious savings.
Incredibly Versatile and Customizable
The beauty of these egg cups is their endless versatility, sautéed vegetables, sharp cheddar cheese, or spicy jalapeños. I love experimenting with different combinations – last week I made Mediterranean-style cups with feta and spinach that rivaled my air fryer frittata recipe. The flavor possibilities are truly endless!
Quick and Foolproof
Even if you’ve never used an air fryer before, you’ll nail this recipe. The air fryer circulates hot air evenly, creating perfectly cooked eggs with slightly crispy edges and fluffy centers every single time. No more rubbery microwaved eggs or burnt stovetop disasters. Ready to revolutionize your mornings? Let’s get cooking!
How to Make Air Fryer Egg Cups
Quick Overview
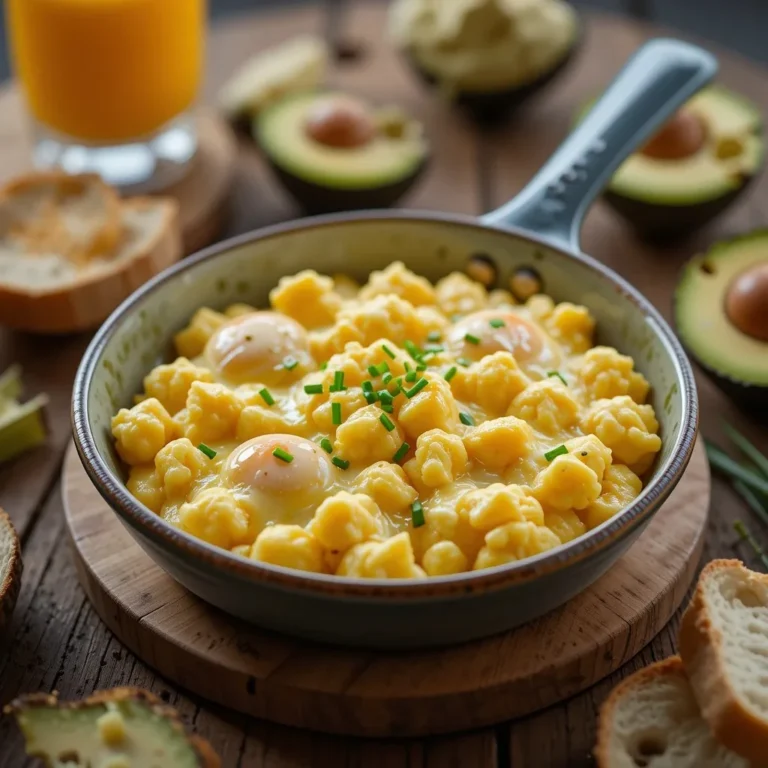
These air fryer egg cups are ridiculously simple to make and deliver restaurant-quality results in your own kitchen. The air fryer creates a beautifully textured egg with tender interiors and lightly golden edges.
Total Time: 15 minutes
- Prep Time: 5 minutes
- Cook Time: 10 minutes
- Servings: 6 egg cups
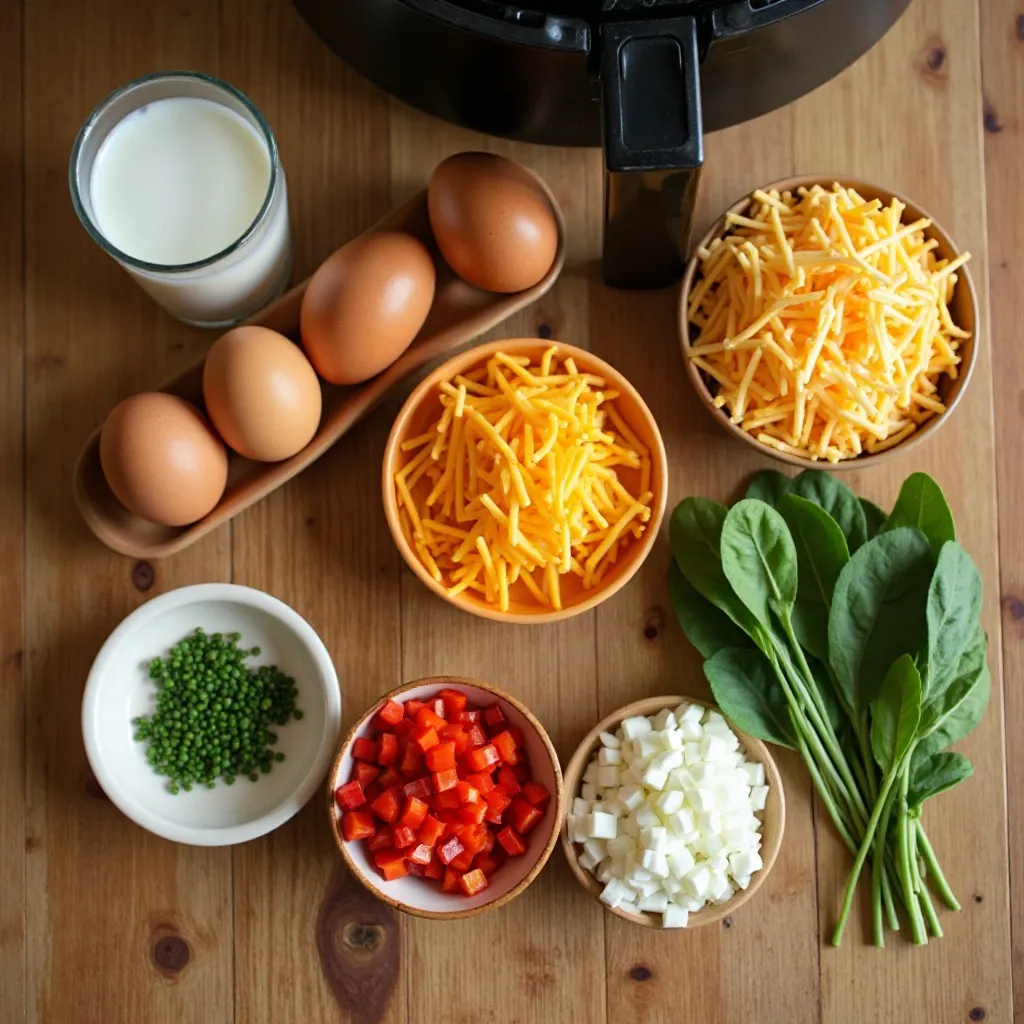
Key Ingredients for Air Fryer Egg Cups
Here’s everything you’ll need to create these delicious breakfast cups:
Base Ingredients:
- 6 large eggs
- 2 tablespoons milk (whole milk or any milk alternative)
- Salt and pepper to taste
- Cooking spray or oil for greasing
Mix-In Options (Choose Your Favorites):
- ½ cup shredded cheese (cheddar, mozzarella, or Swiss)
- ¼ cup diced bell peppers
- ¼ cup diced onions
- ¼ cup fresh spinach, chopped
- 2 tablespoons fresh herbs (chives, parsley, or cilantro)
Pro tip: The beauty of this recipe is you can customize each cup differently to satisfy everyone’s preferences!
Step-by-Step Instructions
Step 1: Prepare Your Silicone Molds Start by lightly greasing six silicone muffin cups with cooking spray or brushing them with a thin layer of oil. Silicone works best in air fryers because it’s heat-resistant and flexible. Place the greased molds on a small baking tray or directly in your air fryer basket if they fit securely.
Step 2: Whisk the Egg Mixture Crack all six eggs into a large mixing bowl. Add the milk, a generous pinch of salt (about ½ teaspoon), and freshly ground black pepper (about ¼ teaspoon). Whisk vigorously for about 30 seconds until the mixture is completely smooth and slightly frothy. The milk adds creaminess while the air creates a lighter texture.
Step 3: Add Your Favorite Mix-Ins Now comes the fun part! Distribute your chosen ingredients evenly among the six molds. I like to add a tablespoon of cheese to each cup first, then layer in the vegetables and meat. This creates pockets of flavor throughout each bite. Don’t overfill – leave about ¼ inch of space at the top.
Step 4: Pour the Egg Mixture Carefully pour the whisked egg mixture into each mold, filling them about three-quarters full. The eggs will puff up slightly during cooking, so you don’t want them overflowing. Use a fork to gently stir each cup, ensuring the mix-ins are evenly distributed and any air bubbles are released.
Step 5: Preheat and Cook Preheat your air fryer to 300°F (150°C) for 2-3 minutes. This lower temperature ensures gentle, even cooking. Carefully place the molds in the air fryer basket, making sure they’re stable and not touching the heating element. Cook for 10-12 minutes, checking at the 10-minute mark.
Step 6: Check for Doneness The egg cups are done when the centers are set and no longer jiggly. The tops should be lightly golden, and a toothpick inserted in the center should come out clean. If they need more time, cook in 1-minute increments. Remember, they’ll continue cooking slightly after you remove them from the air fryer.
Step 7: Cool and Serve Let the egg cups cool in their molds for 2-3 minutes. This makes them easier to remove and prevents burning your fingers. Gently pop them out using a spoon or your fingers. Serve immediately while warm, or let them cool completely for meal prep storage.
What to Serve Air Fryer Egg Cups With
These versatile egg cups pair beautifully with so many breakfast favorites!
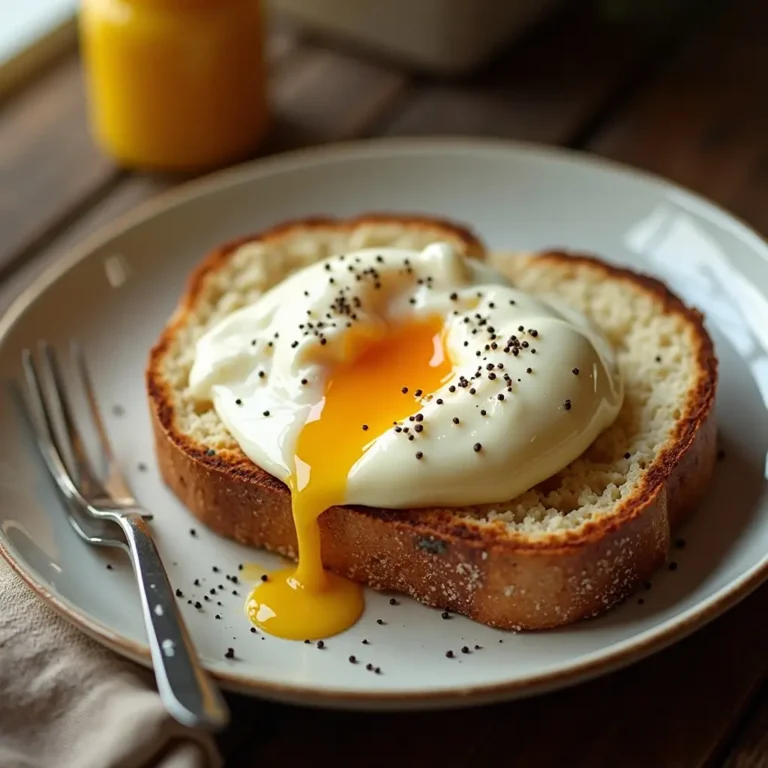
Bread and Grains: Serve alongside buttery toast, a warm croissant, or an English muffin for a satisfying meal. I love pairing mine with sourdough toast spread with avocado.
Fresh Sides: Add a handful of fresh fruit like berries, melon, or orange slices for a refreshing contrast. A simple side salad with arugula and cherry tomatoes works wonderfully for a lighter option.
Beverages: These pair perfectly with your morning coffee, fresh orange juice, or a protein smoothie. On weekends, I enjoy them with a mimosa for a special brunch feel.
Additional Proteins: Round out your meal with crispy hash browns, turkey sausage links

Top Tips for Perfecting Air Fryer Egg Cups
Use Silicone Molds for Best Results
Trust me on this – silicone molds are worth the investment. They’re non-stick, heat-resistant, and make removing the egg cups effortless. Metal muffin tins can work, but you’ll need to grease them heavily and may still struggle with sticking.
Don’t Skip the Milk
Adding milk makes your eggs incredibly creamy and prevents them from becoming rubbery. If you’re dairy-free, unsweetened almond milk or oat milk work beautifully. I’ve tested this with various milk alternatives, and they all produce tender, fluffy results.
Watch Your Temperature
The biggest mistake I see is cooking at too high a temperature. Keep it at 300°F to prevent the eggs from puffing up too quickly and then deflating. Lower and slower wins the race here!
Pre-Cook Watery Vegetables
Vegetables like mushrooms, zucchini, and tomatoes release water as they cook. Sauté them briefly beforehand to remove excess moisture, or your egg cups will be soggy. I learned this the hard way!
Season Generously
Eggs need proper seasoning to shine. Don’t be shy with salt and pepper. I also love adding a pinch of garlic powder or smoked paprika for extra depth of flavor.
Experiment with Cheese Placement
For that Instagram-worthy melted cheese pull, add half the cheese to the mixture and sprinkle the remaining half on top during the last 2 minutes of cooking.
Storing and Reheating Tips
Refrigerator Storage
Air fryer egg cups store beautifully in an airtight container in the refrigerator for up to 5 days. This makes them perfect for weekly meal prep. I make a double batch every Sunday and have grab-and-go breakfasts all week long.
Let the egg cups cool completely before storing to prevent condensation, which can make them soggy. Layer them between parchment paper if you’re stacking them to prevent sticking.
Freezer Storage
For longer storage, these freeze exceptionally well for up to 3 months. Wrap each egg cup individually in plastic wrap, then place them all in a freezer-safe bag or container. Label with the date so you know when you made them.
Reheating Instructions
From Refrigerated: Microwave on 50% power for 30-45 seconds, or until heated through. You can also reheat in the air fryer at 300°F for 3-4 minutes for that fresh-from-the-fryer texture.
From Frozen: Thaw overnight in the refrigerator, then reheat using the methods above. Alternatively, microwave from frozen for 1-2 minutes on 50% power, checking frequently.
Common Baking Mistakes to Avoid
Overfilling the Molds
I know it’s tempting to pack in all your favorite ingredients, but overfilled molds lead to overflow and uneven cooking. Stick to the three-quarters-full rule religiously.
Using High Heat
Cooking eggs too quickly at high temperatures creates rubbery, tough textures. Patience pays off – that 300°F setting is your friend.
Not Preheating
Skipping the preheat means uneven cooking. Those first few minutes help establish the right cooking environment.
Opening the Air Fryer Too Often
Every time you open that basket, you lose heat and extend cooking time. Resist the urge to check constantly – trust the process!
Using Paper Liners
Paper muffin liners can blow around in the air fryer’s circulation. They also prevent that lovely crispy edge from forming. Stick with silicone or well-greased metal molds.
Frequently Asked Questions
Can I make air fryer egg cups without silicone molds?
Absolutely! You can use a well-greased metal muffin tin or even oven-safe ramekins. Just be extra generous with the cooking spray and allow a bit more time for cooling before removing them.
How do I prevent my egg cups from sticking?
The key is thorough greasing. I spray my molds generously, then use a paper towel to spread the oil evenly, making sure to get into all the corners. Silicone molds naturally have better non-stick properties than metal.
Can I meal prep air fryer egg cups?
Yes! This is actually one of my favorite meal prep recipes. Make a big batch on Sunday, store them properly, and you’ve got healthy breakfasts ready all week. They reheat beautifully and taste nearly as good as fresh.
What’s the best cheese for egg cups?
Cheddar is classic and melts beautifully, but don’t be afraid to experiment! I love sharp white cheddar, Gruyere for something fancy, pepper jack for heat, or feta for a Mediterranean twist. Mix different cheeses for complex flavor.
Why are my egg cups rubbery?
This usually happens from cooking at too high a temperature or overcooking. Eggs should be just set, not bouncy. Remember, they continue cooking from residual heat after you remove them, so take them out when they’re just barely done.
Can I make these dairy-free?
Definitely! Use your favorite dairy-free milk alternative and skip the cheese, or use a dairy-free cheese substitute. I’ve made these with almond milk and dairy-free cheddar, and they turned out fantastic.
How many eggs per mold should I use?
One egg per mold is perfect. If you’re using large molds, you might use 1.5 eggs, but standard silicone muffin cups work best with one egg each.
Can I add raw meat to my egg cups?
I always recommend pre-cooking meat before adding it to your egg cups. Raw meat won’t fully cook in the short air fryer time, and it releases fat and moisture that can make your cups greasy.
Nutrition Information
| Nutrient | Per Egg Cup (Basic Recipe) |
|---|---|
| Calories | 95 |
| Protein | 7g |
| Fat | 6g |
| Carbohydrates | 2g |
| Fiber | 0g |
| Sugar | 1g |
| Sodium | 140mg |
| Cholesterol | 185mg |
Note: Nutritional values vary based on mix-ins and toppings. Add approximately 30-50 calories per egg cup for cheese and meat additions.
Final Thoughts
Air fryer egg cups have genuinely transformed my morning routine. There’s something incredibly satisfying about grabbing a homemade, protein-packed breakfast from your fridge that took minutes to prepare.
The versatility alone makes this recipe worth mastering. Tuesday could be veggie-loaded Mediterranean style, and by Wednesday you’re experimenting with spicy chorizo and pepper jack.
I hope this recipe becomes as beloved in your kitchen as it is in mine. The first time you bite into that fluffy, perfectly cooked egg with melted cheese and your favorite mix-ins, you’ll understand why I make these every single week.
Don’t forget to experiment with flavors and make them your own. Share your creative combinations in the comments – I love seeing how you customize this recipe!