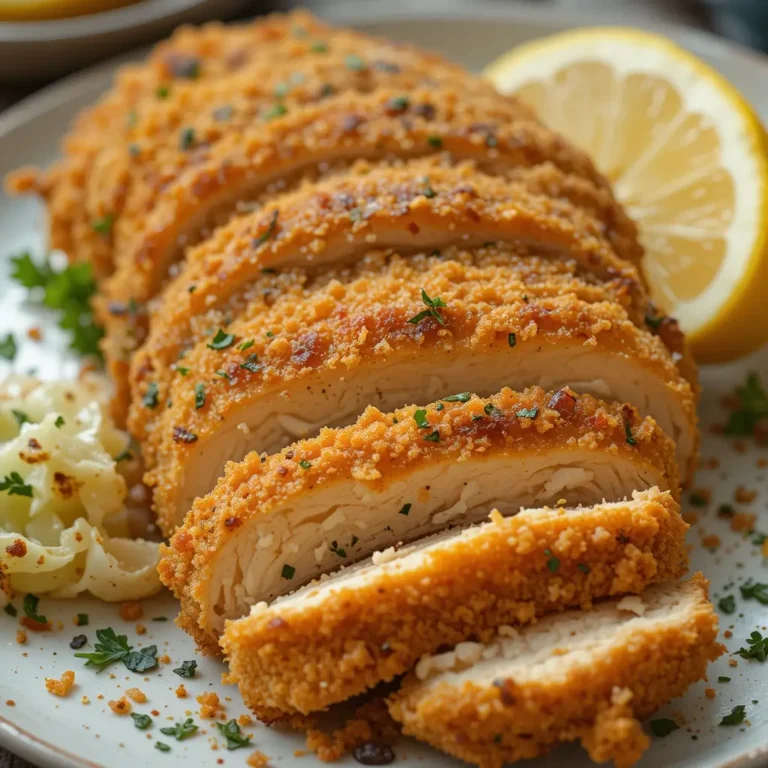
Air Fryer Chicken Nibbles Recipe Everyone Will Love
If you’re craving something crispy, juicy, and utterly addictive, these air fryer chicken nibbles are about to become your new obsession! I still remember the first time I made these for game night – they disappeared faster than I could say “touchdown.” What makes these little bites so special?
They’re incredibly tender on the inside with that satisfying golden crunch on the outside, and they take just 20 minutes from start to finish. Perfect for busy weeknights, party appetizers, or when you just need a protein-packed snack that’ll make everyone happy.
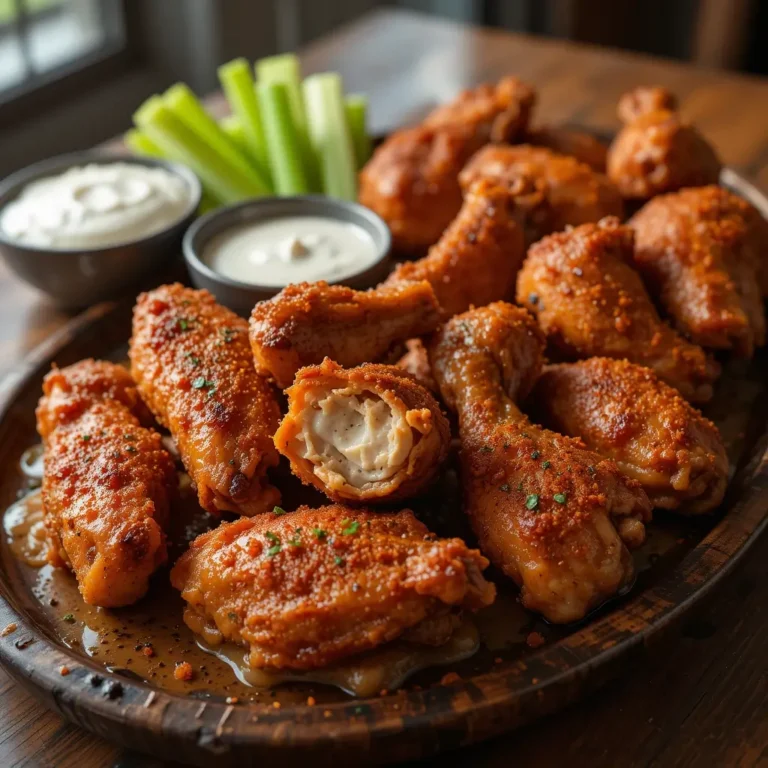
Much like my popular air fryer chicken wings, these nibbles deliver restaurant-quality results without the deep fryer mess or guilt!
What Are Air Fryer Chicken Nibbles?
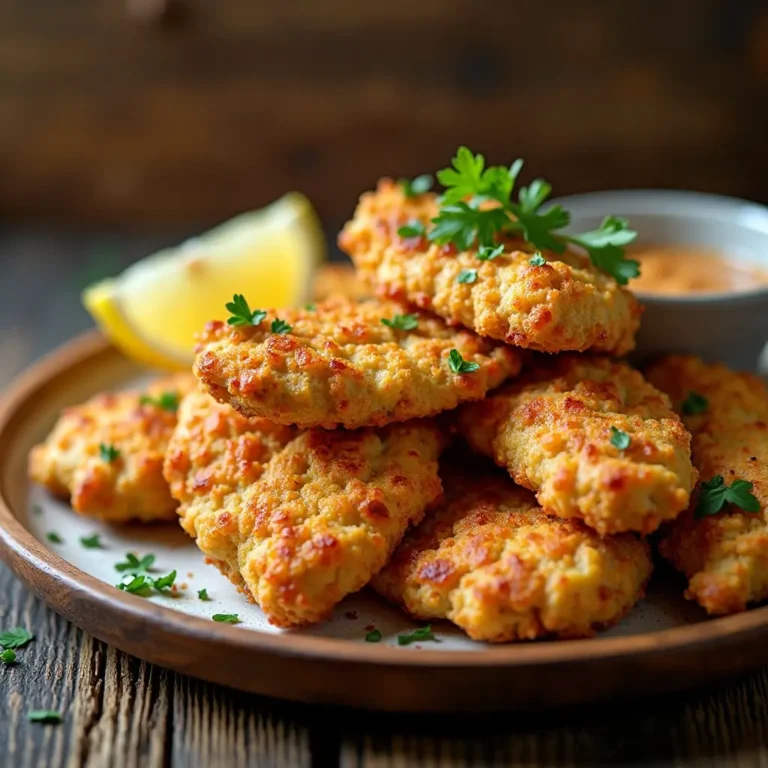
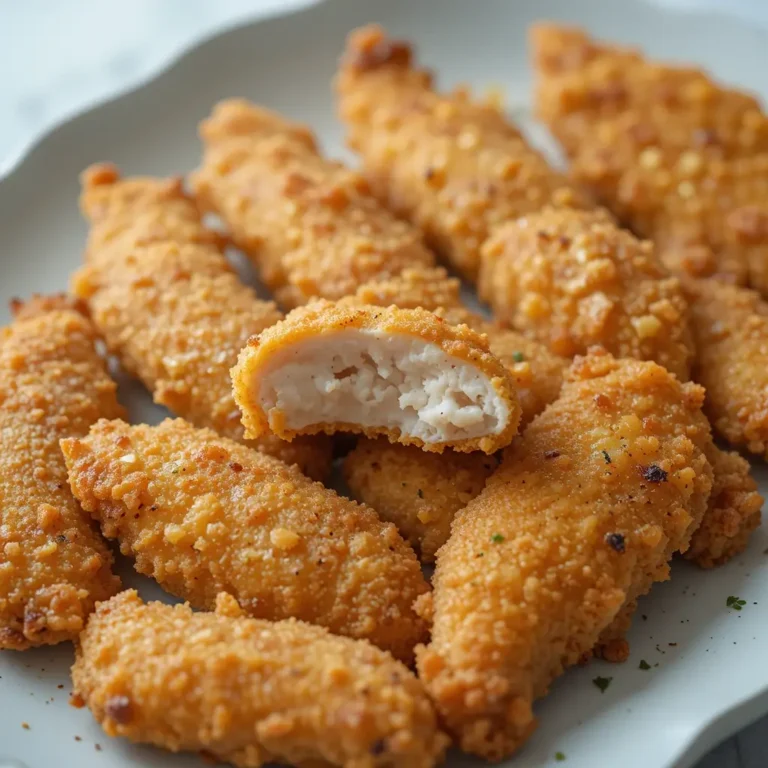
Ever wonder why they’re called “nibbles”? Well, because you literally can’t stop nibbling on them! These bite-sized pieces of chicken are marinated, seasoned to perfection, and air-fried until gloriously crispy. They’re essentially boneless chicken pieces cut into pop-able portions that are dangerously addictive.
You know what they say – the way to anyone’s heart is through their stomach, and these nibbles have a direct route! Trust me, once you make a batch, you’ll understand why they earned their name. Go ahead and give them a try!
Why You’ll Love This Air Fryer Chicken Nibbles Recipe
Incredibly Crispy Without the Oil Bath
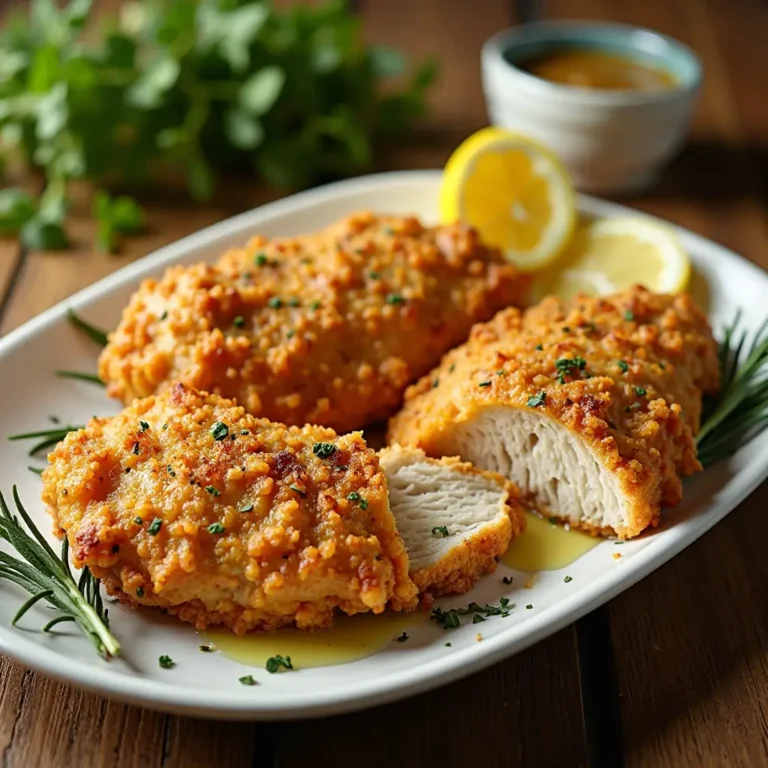
The magic of the air fryer transforms ordinary chicken into golden, crispy perfection using just a fraction of the oil you’d need for deep frying. Each bite delivers that satisfying crunch that gives way to tender, juicy chicken that practically melts in your mouth. The hot circulating air creates an even, beautiful golden-brown coating that rivals any restaurant version.
Budget-Friendly Family Favorite
Making air fryer chicken nibbles at home costs a fraction of what you’d pay for takeout or restaurant appetizers. A few chicken breasts can feed the whole family for under $10, and you control exactly what goes into your food – no mystery ingredients or excessive sodium. Plus, you can make a double batch and freeze half for those nights when cooking feels impossible.
Customize With Your Favorite Flavors
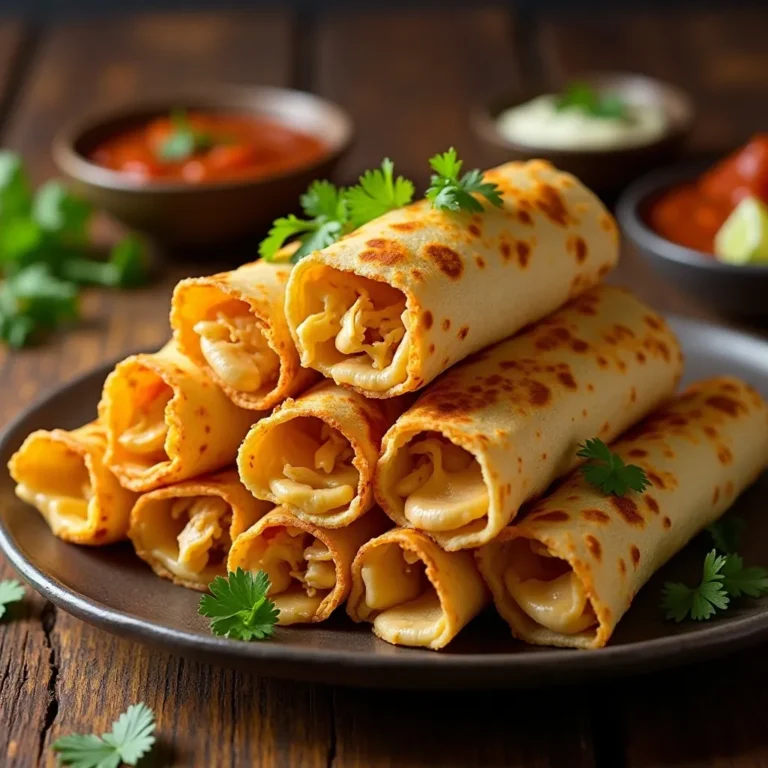
The beauty of these nibbles is their versatility. Whether you love spicy buffalo, tangy BBQ, sweet teriyaki, or classic garlic parmesan, the base recipe adapts beautifully to any flavor profile. Add your favorite seasonings to the coating, toss them in sauce after cooking, or serve them plain with an array of dipping sauces. Similar to my air fryer chicken tenders, these nibbles are a blank canvas for your creativity!
Ready to transform simple chicken into the crispiest, most crave-worthy nibbles? Let’s get cooking!
How to Make Air Fryer Chicken Nibbles
Quick Overview
These air fryer chicken nibbles are incredibly straightforward to make, even if you’re new to air frying. The secret lies in the simple seasoned coating that crisps up beautifully while keeping the chicken moist and flavorful. With minimal prep work and hands-off cooking time, you’ll have restaurant-quality nibbles ready in no time.
Total Time Breakdown:
- Prep Time: 10 minutes
- Cook Time: 12-15 minutes
- Total Time: 25 minutes
- Serves: 4 people
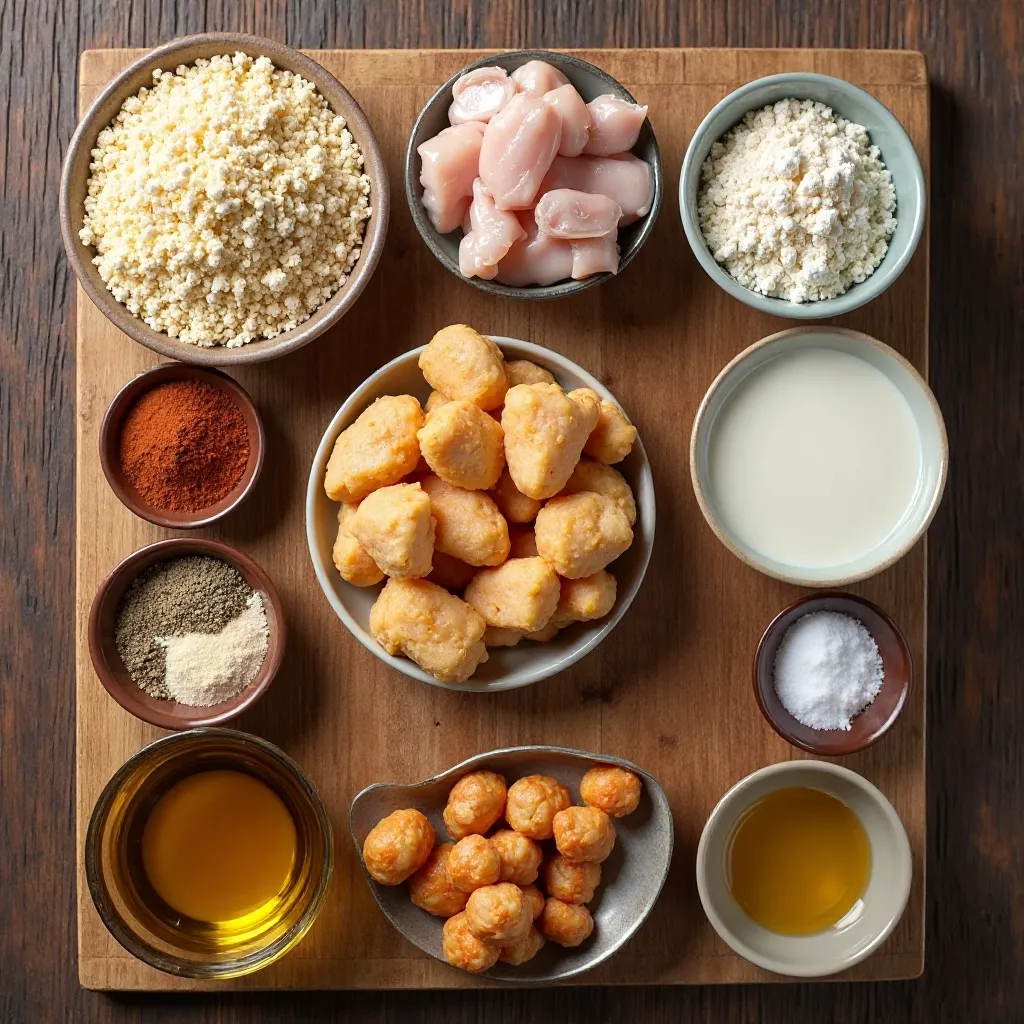
Key Ingredients for Air Fryer Chicken Nibbles
For the Chicken:
- 1.5 lbs boneless, skinless chicken breasts (or chicken thighs for extra juiciness)
- 1 cup buttermilk (or regular milk with 1 tablespoon lemon juice)
- 1 teaspoon salt
- ½ teaspoon black pepper
- 1 teaspoon garlic powder
- 1 teaspoon paprika
For the Coating:
- 1 cup all-purpose flour (or use gluten-free flour blend)
- ½ cup panko breadcrumbs (this is the secret to extra crunch!)
- 1 teaspoon salt
- 1 teaspoon garlic powder
- 1 teaspoon onion powder
- 1 teaspoon paprika (smoked paprika adds amazing depth)
- ½ teaspoon black pepper
- ¼ teaspoon cayenne pepper (optional, for heat lovers)
For Cooking:
- Cooking spray or 2 tablespoons olive oil
Step-by-Step Instructions
Step 1: Prepare the Chicken
Start by cutting your chicken breasts into bite-sized pieces, about 1 to 1.5 inches each. I like to cut them slightly larger than you think because they’ll shrink a bit during cooking. Make sure the pieces are relatively uniform in size so they cook evenly. Pat the chicken pieces dry with paper towels – this step is crucial for getting that crispy exterior!
Step 2: Marinate for Maximum Flavor
In a large bowl, combine the buttermilk, salt, pepper, garlic powder, and paprika. Add your chicken pieces and toss until everything is well coated. If you have time, cover and refrigerate for 30 minutes to 2 hours. This helps tenderize the chicken and infuses it with flavor. If you’re short on time, even 15 minutes makes a difference!
Step 3: Create Your Crispy Coating
In a shallow dish or bowl, mix together the flour, panko breadcrumbs, and all the seasonings. This double-texture coating (flour + panko) is the secret weapon for ultimate crispiness. Give it a good whisk to distribute the seasonings evenly throughout. Trust me, you want every nibble to be perfectly seasoned!
Step 4: Coat the Chicken Pieces
Remove the chicken pieces from the buttermilk, letting the excess drip off. Working in batches, dredge each piece in the flour mixture, pressing gently to ensure the coating sticks well. Shake off any excess coating – too much can create clumps. Place the coated pieces on a plate and repeat until all chicken is ready.
Step 5: Preheat Your Air Fryer
Preheat your air fryer to 400°F (200°C) for about 3-5 minutes. This step ensures your chicken starts cooking immediately when it hits the basket, helping to seal in the juices and create that crispy exterior. Don’t skip this – it really does make a difference!
Step 6: Arrange in the Air Fryer Basket
Lightly spray the air fryer basket with cooking spray to prevent sticking. Arrange the chicken nibbles in a single layer, making sure they’re not touching or overlapping. Overcrowding leads to steaming instead of crisping, so work in batches if needed. Lightly spray the tops of the chicken pieces with cooking spray for extra crispiness.
Step 7: Air Fry to Golden Perfection
Cook the chicken nibbles at 400°F for 12-15 minutes, flipping them halfway through at the 6-7 minute mark. The exact time depends on the size of your pieces and your specific air fryer model. You’ll know they’re done when they’re golden brown and the internal temperature reaches 165°F. The exterior should be deeply golden and crispy.
Step 8: Rest and Serve
Remove the nibbles from the air fryer and let them rest for 2-3 minutes. This allows the juices to redistribute throughout the meat, keeping everything moist and tender. If you’re making multiple batches, keep the finished nibbles warm in a 200°F oven while you cook the rest. Serve immediately while they’re at peak crispiness!
What to Serve Air Fryer Chicken Nibbles With
These versatile nibbles pair beautifully with so many sides and dipping sauces!
Dipping Sauces:
- Ranch dressing (the classic choice!)
- Honey mustard for a sweet and tangy kick
- BBQ sauce for smoky goodness
- Buffalo sauce if you love heat
- Garlic aioli for sophisticated flavor
- Sweet chili sauce for an Asian-inspired twist
Perfect Side Dishes:
- Crispy french fries or sweet potato fries
- Fresh coleslaw for a crunchy, cool contrast
- Mac and cheese for the ultimate comfort meal
- Simple green salad to balance the richness
- Corn on the cob for a summer BBQ vibe
- Loaded nachos for game day perfection
Beverages:
- Iced tea (sweet or unsweet)
- Your favorite soda
- Sparkling water with lime
Top Tips for Perfecting Air Fryer Chicken Nibbles
Don’t Overcrowd the Basket
This is the number one mistake people make with air fryers! Chicken needs space for the hot air to circulate all around it. If pieces are touching, you’ll end up with soggy spots instead of all-over crispiness. Cook in batches – I promise it’s worth the extra few minutes.
Use a Meat Thermometer
The only way to guarantee perfectly cooked chicken is to check the internal temperature. You’re looking for 165°F in the thickest part. This takes the guesswork out and prevents both undercooked and overcooked chicken. It’s a small investment that makes a huge difference!
Spray Oil is Your Friend
While air fryers use less oil than deep frying, a light coating of oil spray helps achieve that golden, crispy exterior. Spray the chicken pieces before AND after placing them in the basket. Don’t go overboard – a light mist is all you need.
Let the Buttermilk Work Its Magic
If you can marinate for at least 30 minutes, you’ll notice a significant difference in tenderness. The acidity in buttermilk breaks down the proteins, resulting in incredibly juicy chicken. Even if you’re rushed, try for at least 15 minutes.
Flip for Even Cooking
Halfway through cooking, flip each piece to ensure both sides get equally crispy. Yes, it’s an extra step, but uneven cooking is a common air fryer pitfall. Use tongs to avoid burns and be gentle so the coating doesn’t fall off.
Adjust Temperature for Your Model
Every air fryer cooks a bit differently. If your nibbles are browning too quickly on the outside but aren’t cooked through, lower the temperature to 375°F and cook a bit longer. If they’re not getting crispy enough, increase to 425°F.
Season Generously
Chicken can handle bold flavors! Don’t be shy with your seasonings in both the marinade and the coating. The cooking process mellows flavors, so what seems like a lot before cooking will taste just right after.
Storing and Reheating Tips
Refrigerator Storage: Store leftover air fryer chicken nibbles in an airtight container in the refrigerator for up to 3-4 days. Make sure they’ve cooled completely before sealing the container to prevent condensation, which can make them soggy. Place a paper towel in the container to absorb any excess moisture.
Freezer Storage: These nibbles freeze beautifully! Arrange cooled nibbles in a single layer on a baking sheet and freeze for 1-2 hours until solid. Then transfer to a freezer-safe bag or container, removing as much air as possible. They’ll keep for up to 3 months. Label with the date so you remember when you made them!
Reheating Instructions: The best way to reheat these and maintain crispiness is in the air fryer. Preheat to 350°F and cook for 4-5 minutes (if refrigerated) or 8-10 minutes (if frozen), until heated through and crispy again. You can also reheat in a 400°F oven for 8-10 minutes. Avoid the microwave if possible – it makes them soggy and rubbery.
Make-Ahead Tips: You can prep the chicken pieces, marinate them, and even coat them up to 24 hours in advance. Store the coated (but uncooked) chicken pieces in a single layer on a parchment-lined tray in the refrigerator. When ready to cook, air fry as directed, adding 1-2 minutes to the cooking time since they’ll be starting cold.

Tips for Avoiding Common Mistakes
Mistake #1: Chicken is Rubbery or Dry
The Fix: This usually happens from overcooking. Always use a meat thermometer and remove chicken the moment it hits 165°F. Also, don’t skip the buttermilk marinade – it keeps chicken incredibly moist. If using chicken breasts, consider switching to thighs for naturally juicier results.
Mistake #2: Coating Falls Off During Cooking
The Fix: Make sure your chicken is properly dried before marinating. When coating, press the flour mixture firmly onto each piece. Let coated chicken rest for 5 minutes before air frying – this helps the coating adhere. Also, don’t flip too aggressively or too early.
Mistake #3: Nibbles Aren’t Crispy Enough
The Fix: Don’t forget the oil spray! Even air fryers need a little fat for browning. Also, ensure your air fryer is properly preheated. Cooking at too low a temperature or overcrowding the basket will result in steamed rather than crispy chicken.
Mistake #4: Uneven Cooking
The Fix: Cut your chicken pieces as uniformly as possible. Drastically different sizes will cook at different rates. Also, remember to flip halfway through cooking and don’t overcrowd the basket.
Mistake #5: Bland Flavor
The Fix: Season both the marinade AND the coating generously. Taste your flour mixture before coating – it should be noticeably salty and flavorful. Don’t be afraid to add extra garlic powder, paprika, or your favorite seasonings.
Frequently Asked Questions
Can I use frozen chicken for this recipe?
It’s best to thaw chicken completely before making these nibbles. Frozen chicken won’t absorb the marinade properly and will release excess moisture during cooking, preventing that crispy coating. If you’re in a pinch, thaw in the refrigerator overnight or use the defrost setting on your microwave.
What’s the best cut of chicken for air fryer nibbles?
Boneless, skinless chicken breasts are the most common choice, but chicken thighs are actually my secret weapon! They’re more forgiving, stay juicier, and have more flavor. You can also use chicken tenderloins if you want to skip the cutting step.
Can I make these gluten-free?
Absolutely! Simply substitute the all-purpose flour with your favorite gluten-free flour blend and use gluten-free panko breadcrumbs (or crushed gluten-free cornflakes). The texture will be just as crispy and delicious.
How do I know when the chicken is fully cooked?
The most reliable method is using an instant-read meat thermometer. Insert it into the thickest part of a nibble – it should read 165°F. Visually, the chicken should be golden brown with no pink inside, and juices should run clear when pierced.
Can I make these spicy?
Yes! Add extra cayenne pepper to the coating mixture, use hot paprika instead of regular, or toss the cooked nibbles in buffalo sauce, Nashville hot sauce, or sriracha. You can also add red pepper flakes to the flour mixture for a spicy kick.
Why do my chicken nibbles stick to the air fryer basket?
This usually happens when the basket isn’t properly greased. Always spray the basket with cooking oil before adding chicken. You can also use parchment paper designed for air fryers (with holes) to prevent sticking, though this may slightly reduce crispiness on the bottom.
Can I double the recipe?
You can definitely double the ingredients, but remember you’ll need to cook in multiple batches. Never overcrowd the air fryer basket. Each batch takes about 12-15 minutes, so plan your timing accordingly if you’re serving a crowd.
What size should I cut the chicken pieces?
Aim for pieces that are roughly 1 to 1.5 inches. They should be bite-sized but not too small – tiny pieces can dry out quickly. Think about the size of a large popcorn chicken piece or a generous nugget.
Do I need to preheat my air fryer?
Yes! Preheating ensures the chicken starts cooking immediately, which helps seal in moisture and creates a better crust. Most air fryers need just 3-5 minutes to preheat to 400°F.
Can I use a different marinade?
Definitely! While buttermilk is traditional for tenderizing, you can use regular milk with lemon juice, yogurt, pickle juice (seriously!), or even Italian dressing. Each will give a slightly different flavor profile but will all work well.
Nutrition Information (Per Serving)
| Nutrient | Amount |
|---|---|
| Calories | 285 |
| Protein | 32g |
| Total Fat | 8g |
| Saturated Fat | 2g |
| Carbohydrates | 18g |
| Fiber | 1g |
| Sugar | 2g |
| Sodium | 580mg |
| Cholesterol | 85mg |
Nutritional values are approximate and based on 4 servings without additional dipping sauces
Final Thoughts
These air fryer chicken nibbles have become a weekly staple in my house, and I have a feeling they’ll become one of yours too! There’s something magical about achieving that perfect golden crispiness with a fraction of the oil and effort of traditional frying. Whether you’re meal prepping for the week, hosting a party, or just need a quick protein-packed snack, these nibbles deliver every single time.
The best part? Once you master the basic recipe, you can experiment with endless flavor variations. Try different seasoning blends, toss them in various sauces, or serve them alongside your favorite dips. They’re incredibly versatile and always crowd-pleasing.
So grab your air fryer and give these a try! I’d love to hear how yours turn out – don’t forget to leave a comment below and let me know which dipping sauce was your favorite. Happy cooking! 🍗✨