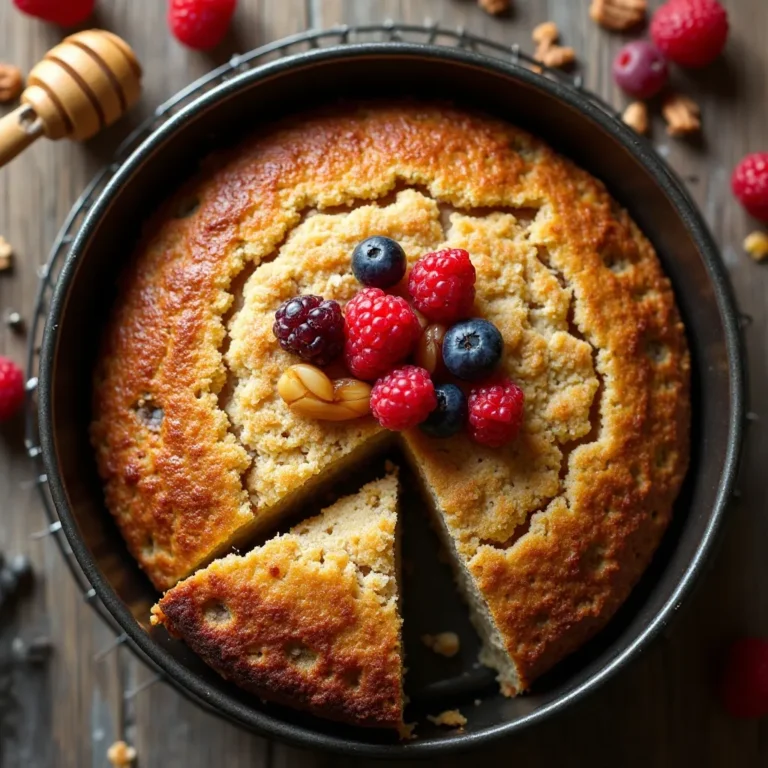
Air Fryer Cake Pops Recipe – Ready in 30 Minutes
Imagine biting into a perfectly round, moist cake pop with a crispy exterior and tender, fluffy center – all made in your air fryer! These air fryer cake pops are about to become your new favorite treat. They’re surprisingly simple to make, require minimal cleanup, and deliver bakery-quality results every single time.
Fun fact: cake pops became a viral sensation in the early 2000s, but using an air fryer makes them even easier than the traditional oven method.
What makes this recipe truly special is how it transforms simple ingredients into adorable, bite-sized desserts that kids and adults absolutely adore. If you loved our air fryer donuts, you’re going to flip for these cake pops! Ready to create some magic in your kitchen?
What Are Air Fryer Cake Pops?
Ever wondered why these delightful treats are called “pops”? Well, it’s not because they explode with flavor (though they absolutely do!). Air fryer cake pops are bite-sized cake balls mounted on sticks, cooked to perfection in your trusty air fryer. They’re like little lollipops made of heaven!
The “pop” comes from how you can just pop one in your mouth for instant happiness. After all, the way to anyone’s heart is through their stomach, right? These adorable treats are perfect for parties, gifts, or whenever you need a quick sweet fix. Trust me, once you make your first batch, you’ll be hooked!
Why You’ll Love This Air Fryer Cake Pops Recipe
They’re Ridiculously Easy to Make
The beauty of air fryer cake pops lies in their simplicity. Unlike traditional cake pops that require baking a full cake, crumbling it, and then reshaping, this method streamlines everything. Your air fryer does most of the heavy lifting, creating that perfect golden exterior while keeping the inside incredibly moist and tender. The circulating hot air ensures even cooking, so every cake pop comes out looking like a professional made it.
Save Money While Satisfying Your Sweet Tooth
Why spend $3-5 per cake pop at fancy bakeries when you can make a dozen at home for a fraction of the cost? This recipe uses pantry staples you probably already have. Making air fryer cake pops at home means you control the quality of ingredients, avoid preservatives, and can customize flavors to your heart’s content. Plus, you can make them fresh whenever a craving hits!
Endless Flavor and Topping Possibilities
From rich chocolate ganache to smooth vanilla glaze, fruity glazes to sprinkle explosions – the topping options are absolutely limitless. Crushed cookies, nuts, coconut flakes, edible glitter, or even gold leaf can transform these cake pops into showstoppers. If you enjoyed the versatility of our air fryer brownies, you’ll love how customizable these cake pops are. The base recipe is your blank canvas for creativity!
The best part? You can whip up a batch in under 30 minutes, making them perfect for last-minute parties or spontaneous dessert cravings. Ready to get started? Let’s make some magic happen in your kitchen!
How to Make Air Fryer Cake Pops
Quick Overview
Air fryer cake pops are a game-changer for home bakers and dessert lovers alike. These delightful treats combine convenience with deliciousness, delivering perfectly cooked cake balls with a slightly crispy outside and ultra-moist inside. The air fryer method eliminates the need for deep frying or complicated baking techniques.
What makes them so special is the foolproof cooking method and the rich, decadent texture you achieve in just minutes. The gentle heat circulation ensures even cooking without drying out your cake pops.
Time Breakdown:
- Prep Time: 15 minutes
- Cooking Time: 8-10 minutes
- Decorating Time: 15 minutes
- Total Time: 38-40 minutes
- Servings: 12-15 cake pops
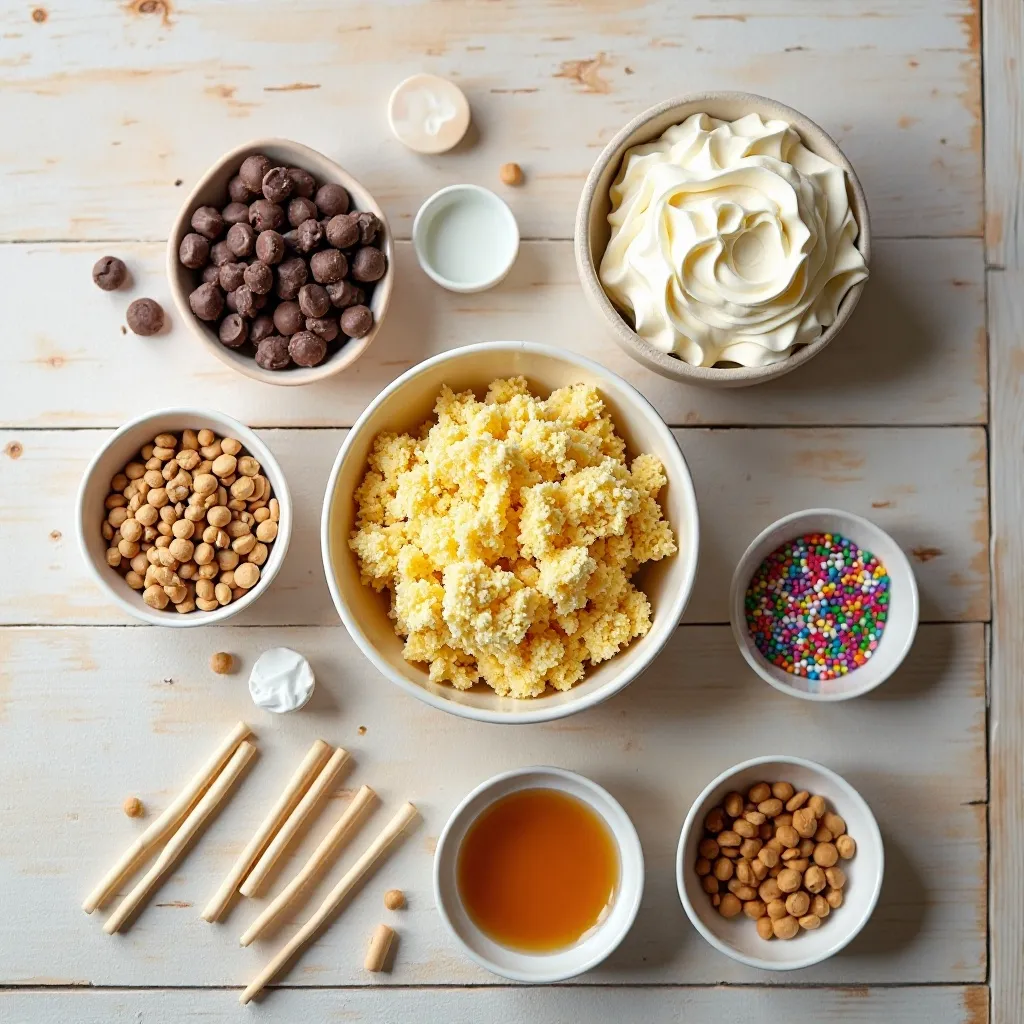
Key Ingredients for Air Fryer Cake Pops
For the Cake Pops:
- 1 box cake mix (any flavor) or 2 cups homemade cake crumbs
- 1/3 cup frosting (store-bought or homemade)
- 2 tablespoons milk or cream
- 1/4 teaspoon vanilla extract
- Cooking spray (for air fryer basket)
For the Coating:
- 2 cups melting chocolate or candy melts
- 1 tablespoon coconut oil (for smooth coating)
- Sprinkles, crushed cookies, or nuts for decoration
Equipment Needed:
- Lollipop sticks or cake pop sticks
- Air fryer
- Mixing bowls
- Cookie scoop or tablespoon
- Parchment paper
- Styrofoam block or cake pop stand (for drying)
Step-by-Step Instructions
Step 1: Prepare Your Cake Base
Start by baking your cake according to package directions if using cake mix, or use leftover cake. Let it cool completely – this is crucial! Warm cake will make your mixture too mushy. Once cooled, crumble the cake into fine crumbs using your hands or a food processor. You want a texture similar to breadcrumbs with no large chunks remaining. This ensures smooth, evenly shaped cake pops.
Step 2: Create the Cake Pop Mixture
In a large mixing bowl, combine your cake crumbs with frosting, starting with 1/4 cup. Mix thoroughly with your hands or a sturdy spoon. The mixture should hold together when squeezed but not be overly wet or sticky. Add milk one tablespoon at a time and vanilla extract. The perfect consistency is like cookie dough – moldable but not dripping. If it’s too dry, add more frosting; if too wet, add more cake crumbs.
Step 3: Shape Your Cake Pops
Using a cookie scoop or tablespoon, portion out equal amounts of the mixture. Roll each portion between your palms to create smooth, round balls about 1.5 inches in diameter. Place them on a parchment-lined tray. Consistency in size is important for even cooking. Once all balls are formed, refrigerate them for 30 minutes. This chilling step is essential – it helps them hold their shape during air frying.
Step 4: Preheat Your Air Fryer
Preheat your air fryer to 320°F (160°C) for about 3-5 minutes. This lower temperature is key to cooking the inside without burning the outside. Lightly spray the air fryer basket with cooking spray to prevent sticking. Don’t skip this step – it makes removal much easier!
Step 5: Air Fry the Cake Pops
Remove cake balls from the refrigerator. Working in batches, place 4-6 cake balls in the air fryer basket, ensuring they don’t touch each other. This allows proper air circulation. Cook for 8-10 minutes, checking at the 6-minute mark. They should develop a light golden exterior and feel slightly firm to the touch. The inside will remain soft and cake-like. Let them cool for 5 minutes before handling.
Step 6: Insert the Sticks
While cake pops are still slightly warm, insert lollipop sticks about halfway through each ball. The warmth helps the stick stay in place. If they’re too cool, the cake might crack. Push gently but firmly. Let them cool completely before coating – this takes about 15-20 minutes.
Step 7: Prepare the Coating
Melt your chocolate or candy melts according to package directions. Microwave in 30-second intervals, stirring between each, until smooth. Add coconut oil and stir well – this creates a thinner, more workable coating that hardens beautifully. The coating should be liquid enough to drip smoothly but thick enough to cling to the cake pops.
Step 8: Coat and Decorate
Hold each cake pop by the stick and dip it into the melted chocolate, covering it completely. Let excess coating drip off by gently tapping the stick against the bowl’s edge. Immediately add sprinkles, crushed cookies, or other decorations while the coating is still wet. Stick the cake pop into a styrofoam block or cake pop stand to dry completely. The coating will harden in about 10-15 minutes at room temperature, or place in the refrigerator for 5 minutes for faster setting.
Step 9: Final Touches
Once the coating is completely set, you can add additional decorations using melted chocolate in a piping bag. Create drizzles, dots, or artistic designs. Get creative! Store finished cake pops upright in a container or wrap individually in cellophane bags tied with ribbons for gifting.
What to Serve Air Fryer Cake Pops With
Air fryer cake pops are versatile treats that work beautifully in many settings. Here are some perfect pairings:
Beverages:
- Hot chocolate or coffee for a cozy afternoon treat
- Cold milk (especially for kids!)
- Flavored lattes that complement your cake pop flavor
- Hot tea for a sophisticated afternoon snack
For Party Displays:
- Fresh fruit platters to balance the sweetness
- Ice cream sundae bar where cake pops become edible stirrers
- Cheese and cracker boards for sweet-savory contrast
- Mini cupcakes and cookies for a full dessert spread
- Popcorn bar for movie night fun
Special Occasions:
- Birthday cakes (use cake pops as cake toppers!)
- Wedding dessert tables
- Baby shower sweet stations
- Holiday cookie exchanges
- Graduation party treats

Top Tips for Perfecting Air Fryer Cake Pops
Get the Mixture Consistency Right
The most critical factor for success is the cake-to-frosting ratio. Your mixture should be moist enough to hold together but not so wet that it falls apart. Test by rolling a small ball – if it cracks, add more frosting. If it’s too sticky, add more cake crumbs. The perfect texture feels like Play-Doh. Room temperature frosting mixes more easily than cold frosting.
Don’t Skip the Chilling Step
Refrigerating your shaped cake balls before air frying isn’t optional – it’s essential! This step helps them maintain their shape and prevents them from falling apart during cooking. Even 20 minutes makes a huge difference. For best results, chill for 30 minutes or even overnight if meal prepping.
Watch Your Air Fryer Temperature
Every air fryer cooks slightly differently. Start at 320°F and adjust as needed. If your cake pops brown too quickly, lower the temperature by 10 degrees. If they’re taking too long, increase slightly. Keep the first batch as your test run and adjust accordingly. Never exceed 350°F or the outside will burn before the inside sets.
Size Matters for Even Cooking
Keep all your cake pops the same size for consistent cooking. Use a cookie scoop for uniform portions. Smaller cake pops cook faster but are harder to coat. Larger ones take longer and might crack. The sweet spot is 1.5 inches in diameter – about the size of a golf ball.
Master the Coating Technique
Thin your melting chocolate with coconut oil for a smoother finish. The coating should be fluid but not watery. If it’s too thick, add more oil one teaspoon at a time. Work quickly once coating – chocolate sets fast. If it gets too thick while working, rewarm it for 10-15 seconds. For the smoothest finish, dip in one smooth motion and twist gently as you pull out.
Prevent Sticking in the Air Fryer
Always spray your air fryer basket, even if it’s non-stick. Use parchment paper cut to fit with holes for air circulation. Don’t overcrowd the basket – air needs to circulate freely. Leave at least half an inch between each cake pop.
Flavor Variations to Try
Once you master the basic recipe, experiment! Try red velvet cake with cream cheese frosting, chocolate cake with peanut butter frosting, or lemon cake with raspberry frosting. Add extracts like almond, peppermint, or coconut to the mixture. Mix in mini chocolate chips, crushed cookies, or nuts for texture.
Storing and Reheating Tips
Room Temperature Storage:
Store fully decorated air fryer cake pops in an airtight container at room temperature for up to 3 days. Place parchment paper between layers to prevent sticking. Keep them away from direct sunlight or heat sources, which can melt the coating. They’re best enjoyed within the first two days when the texture is optimal.
Refrigerator Storage:
For longer storage, refrigerate cake pops in an airtight container for up to 1 week. Bring them to room temperature 30 minutes before serving for the best flavor and texture. The coating might develop condensation if moved from cold to warm too quickly, so let them adjust gradually. Separate layers with parchment or wax paper.
Freezer Storage:
Air fryer cake pops freeze beautifully! Freeze uncoated cake balls for up to 3 months in a freezer-safe container or bag. Remove air to prevent freezer burn. Thaw in the refrigerator overnight before coating. Fully decorated cake pops can be frozen for up to 2 months. Wrap individually in plastic wrap, then place in a freezer bag. Thaw in the refrigerator for several hours.
Reheating Instructions:
These treats are typically enjoyed at room temperature or chilled, but if you want to warm them slightly, place them in the air fryer at 280°F for 1-2 minutes. This gives them a just-made warmth without melting the coating. Don’t microwave – it will melt the chocolate and make the cake gummy.
Make-Ahead Tips:
Prepare cake balls up to 2 days ahead and store in the refrigerator. Coat them the day of serving for freshest results. The coating stays glossy and beautiful when fresh. For parties, set up your coating station right before guests arrive for an interactive experience.
Tips for Avoiding Common Baking Mistakes
Mistake 1: Cake Pops Falling Apart
This happens when the mixture is too dry or the balls weren’t chilled long enough. Always refrigerate for at least 20 minutes. If they’re still crumbling, add more frosting one tablespoon at a time. The mixture should stick together easily when pressed. Another culprit is cooking at too high a temperature, which can cause cracking.
Mistake 2: Sticks Falling Out
Insert sticks while cake pops are still slightly warm, not hot or completely cool. Push the stick halfway through, no more. For extra security, dip the stick end in melted chocolate before inserting. This acts like glue. If using candy melts instead of chocolate, they set harder and hold sticks better.
Mistake 3: Uneven Coating
Your melted chocolate might be too thick. Add coconut oil to thin it. Work quickly and twirl the cake pop as you lift it out. Tap gently against the bowl to remove excess. If coating is lumpy, it’s too cold – rewarm it. Practice makes perfect with coating technique!
Mistake 4: Burnt Exteriors
Lower your air fryer temperature. Every model cooks differently, so your 320°F might be someone else’s 350°F. Check at the 6-minute mark for your first batch. They should be lightly golden, not dark brown. Position cake pops in a single layer with space between them.
Mistake 5: Dense, Heavy Texture
Don’t overmix your cake and frosting. Mix just until combined. Too much handling creates dense cake pops. Also, be sure your cake crumbs are fine and fluffy, not packed down. Fluff them up before measuring.
Mistake 6: Coating Cracks After Setting
This occurs when there’s a temperature difference. Make sure cake pops are completely cool before coating. If they’re even slightly warm, the coating will melt, then crack as it cools. Also, don’t refrigerate coated cake pops too quickly – let them set at room temperature first.
Mistake 7: Cake Pops Too Soft
They might need more time in the air fryer. They should feel slightly firm to the touch when done. Also, ensure you’re not adding too much frosting to your mixture. Start with less and add more if needed.
Frequently Asked Questions
Can I make air fryer cake pops without a cake mix?
Absolutely! Use any homemade cake recipe or leftover cake. Bake the cake, let it cool completely, then crumble it finely. You’ll need about 2 cups of cake crumbs for a standard batch. Homemade cake often creates an even better texture than boxed mix.
What’s the best type of chocolate for coating cake pops?
Candy melts work best because they’re formulated to harden smoothly and stay stable at room temperature. Chocolate chips can work but may not set as firmly. For real chocolate lovers, use melting chocolate wafers or add coconut oil to regular chocolate chips to thin them.
Why did my cake pops crack in the air fryer?
Cracking usually happens when the temperature is too high or the mixture is too dry. Lower your temperature to 300°F and ensure your mixture has enough moisture. Proper chilling before cooking also prevents cracking. Make sure balls are smooth with no cracks before air frying.
How do I know when air fryer cake pops are done?
They should have a light golden exterior and feel slightly firm when gently pressed. The outside should look set, not doughy. They continue to firm up as they cool, so don’t overcook. Start checking at the 6-minute mark.
Can I make these without sticks?
Yes! Make cake balls instead of pops. Skip the stick step and just coat the cooled balls. They’re perfect bite-sized treats. You can also use pretzel sticks for an edible alternative to traditional cake pop sticks.
What frosting works best for the mixture?
Any frosting works, but cream cheese and buttercream are favorites. Match the frosting to your cake flavor for the best taste. Avoid whipped frosting as it’s too light and airy. Use about 1/3 to 1/2 cup per 2 cups of cake crumbs.
Can I use fresh cake instead of leftover cake?
Fresh cake works perfectly! Just let it cool completely before crumbling. Some bakers prefer fresh cake because it’s moister. The key is ensuring it’s completely cool so it doesn’t turn gummy when mixed with frosting.
How far in advance can I make these?
Make the cake balls up to 2 days ahead and refrigerate. Coat them within 24 hours of serving for the best appearance. Fully finished cake pops keep for 3 days at room temperature or 1 week refrigerated.
My air fryer is small – can I cook fewer at once?
Yes! Cook 2-3 at a time if needed. Just ensure they’re not touching and air can circulate. You’ll need to do more batches, but the results will be just as good. Don’t overcrowd or they’ll cook unevenly.
Can I make these dairy-free or vegan?
Absolutely! Use dairy-free cake mix, vegan frosting, and dairy-free chocolate for coating. Substitute milk with non-dairy alternatives like almond or oat milk. The texture and taste are just as delicious with these substitutions.
Nutrition Information
| Nutrient | Per Cake Pop |
|---|---|
| Calories | 180-220 |
| Total Fat | 8g |
| Saturated Fat | 4g |
| Cholesterol | 15mg |
| Sodium | 120mg |
| Total Carbohydrates | 28g |
| Dietary Fiber | 1g |
| Sugars | 20g |
| Protein | 2g |
Note: Nutrition values are approximate and vary based on specific ingredients used, cake flavor, frosting type, and coating choices.
Final Thoughts
Air fryer cake pops are a delightful treat that combines convenience, creativity, and deliciousness in one adorable package. Whether you’re making them for a birthday party, holiday celebration, or just because you’re craving something sweet, this recipe delivers consistent, impressive results every time.
The beauty of air fryer cake pops lies in their versatility. Customize them with different cake flavors, frostings, and coatings to match any theme or preference. Once you master the basic technique, the possibilities are truly endless.
Remember, the key to perfect cake pops is in the details: proper chilling, consistent sizing, correct air fryer temperature, and a smooth coating technique. Don’t be discouraged if your first batch isn’t perfect – cake pop making is a skill that improves with practice.
So grab your air fryer, gather your ingredients, and get ready to create some magic! Your friends and family will be amazed that you made these professional-looking treats at home. Happy baking! 🎂✨
Don’t forget to save this recipe and share it with your fellow baking enthusiasts! Drop a comment below with your favorite cake pop flavor combination – we’d love to hear from you!