20 Minute Air Fryer Chicken Chunks – Family Favorite
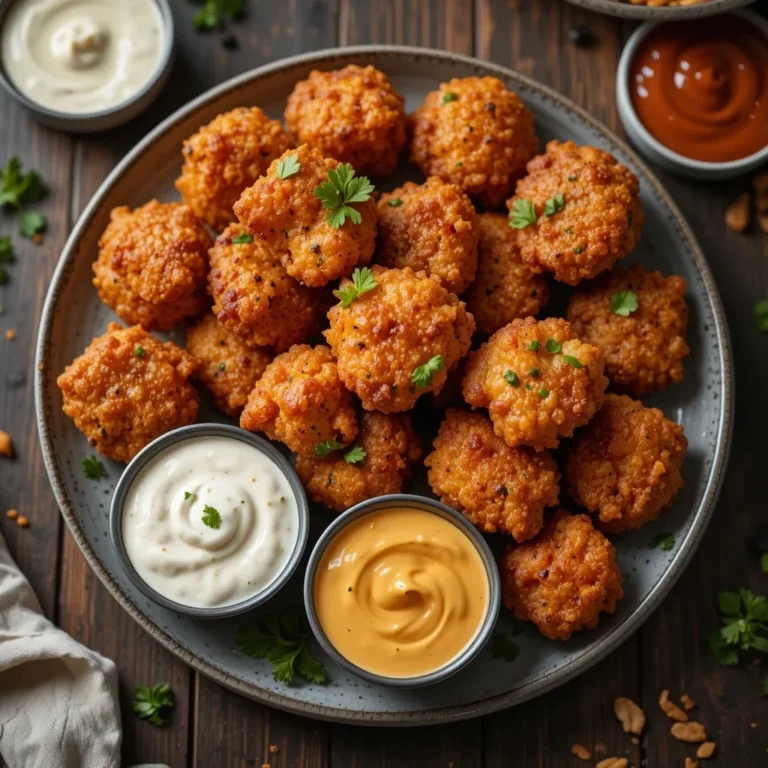
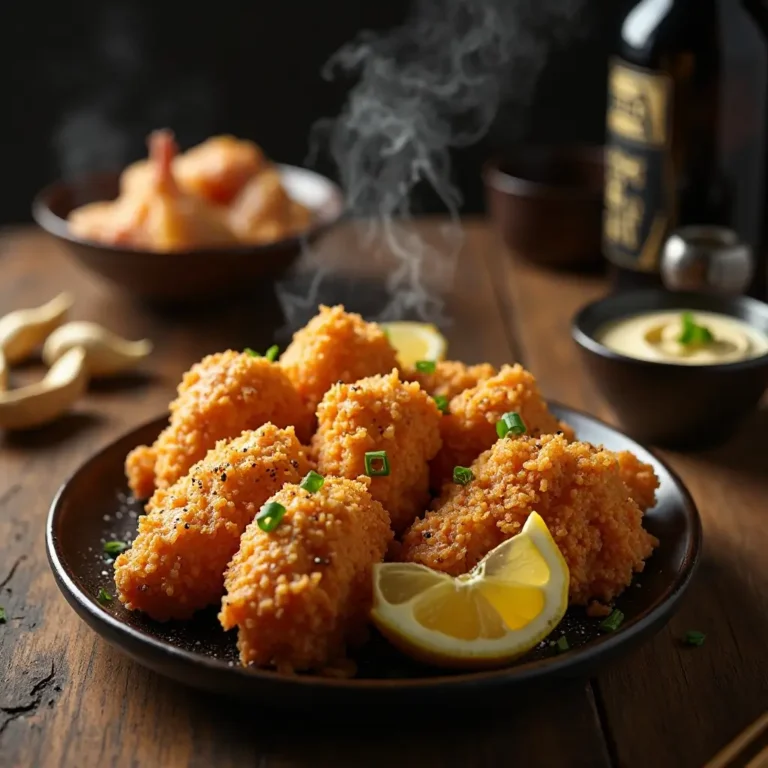
Picture this: golden, crispy air fryer chicken chunks with a satisfying crunch that rivals your favorite restaurant’s version, but made right in your kitchen in under 20 minutes. These juicy, tender bites are about to become your new weeknight dinner hero.
I still remember the first time I made these for my picky eaters—they devoured every single piece and asked for seconds! What makes this recipe truly special is how it delivers restaurant-quality chicken without the guilt of deep frying.
It’s simpler than my popular air fryer chicken wings, requires minimal cleanup, and the whole family genuinely loves it. Trust me, once you try these perfectly seasoned, incredibly crispy chicken chunks, you’ll never go back to boring baked chicken again.
What Are Air Fryer Chicken Chunks?
So what exactly are air fryer chicken chunks? Are they nuggets? Bites? Tenders cut down to size? Here’s the delicious truth: they’re bite-sized pieces of chicken breast or thigh that get wonderfully crispy in the air fryer without drowning in oil.
I like to think of them as the grown-up version of chicken nuggets—more sophisticated, way more flavorful, and incredibly versatile. You know what they say, the way to a man’s heart is through his stomach, and these crispy little gems definitely prove that right! Whether you’re meal prepping, feeding hungry kids, or just craving something satisfying, these chicken chunks are your answer. Ready to make your kitchen smell absolutely amazing? Let’s get cooking!
Why You’ll Love This Air Fryer Chicken Chunks Recipe
The Crispiest Texture You’ve Ever Experienced
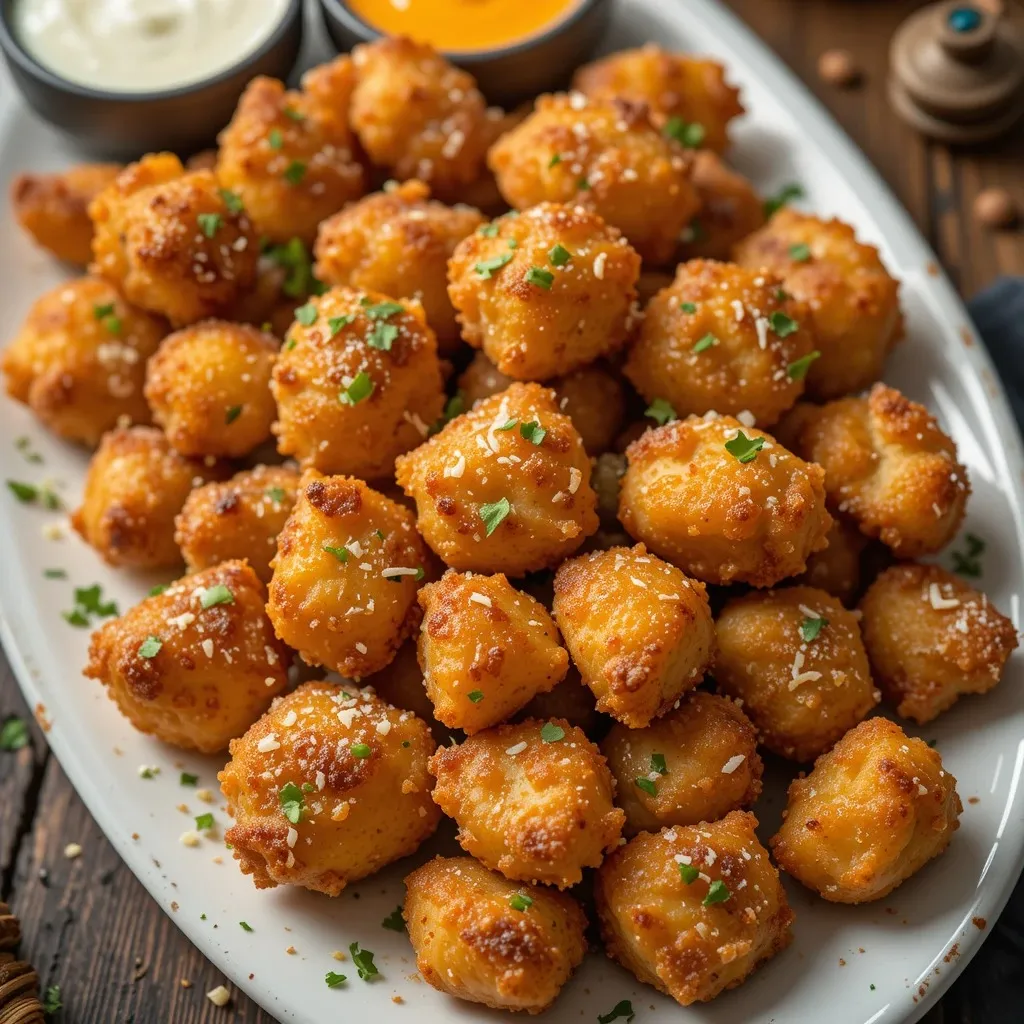
The magic of air fryer chicken chunks lies in that incredible crispy exterior that shatters with each bite, giving way to the most tender, juicy chicken inside. The air fryer circulates hot air around each piece, creating an even golden crust that you’d normally only get from deep frying. The aroma that fills your kitchen is absolutely mouthwatering—hints of garlic, paprika, and perfectly seasoned chicken that’ll have everyone asking “what’s for dinner?”
Budget-Friendly and Healthier Than Takeout
Making air fryer chicken chunks at home costs a fraction of what you’d pay at restaurants or for frozen chicken products. A few chicken breasts and pantry staples transform into a meal that tastes like you spent hours in the kitchen. Plus, you’re using minimal oil compared to traditional frying methods, cutting calories without sacrificing that coveted crunch. Your wallet and your waistline will thank you!
Endless Flavor Possibilities
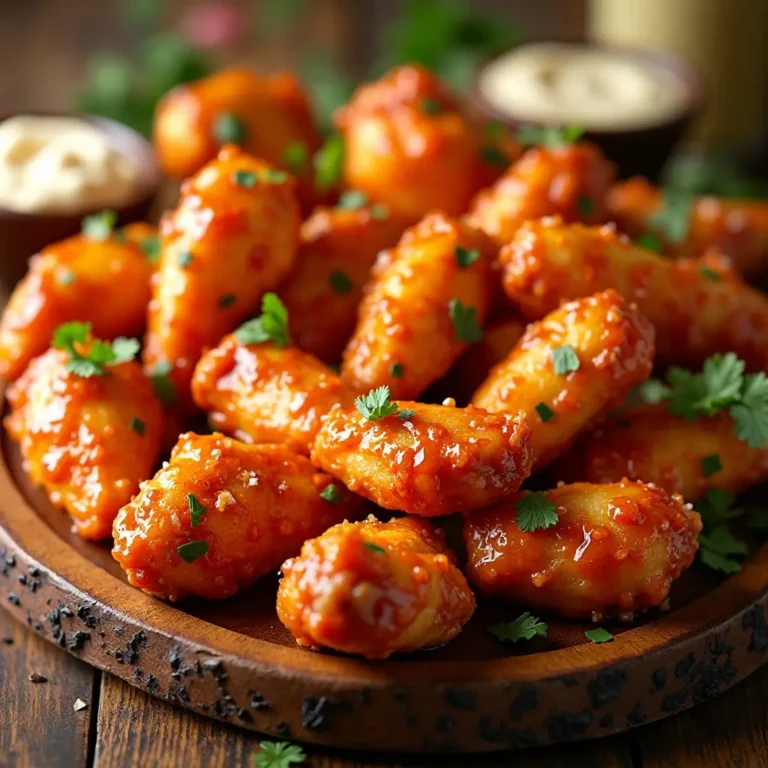
The beauty of these chicken chunks is how customizable they are. Coat them in a classic breadcrumb mixture, toss them in buffalo sauce, go Asian-inspired with soy and ginger, or keep it simple with Italian herbs. Add a drizzle of honey for sweetness, a sprinkle of parmesan for richness, or a dash of hot sauce for heat. They’re like a blank canvas waiting for your creativity. If you loved my air fryer chicken thighs recipe, you’ll obsess over how versatile these chunks are. Go ahead and experiment—make them your own and watch them disappear from the plate!
How to Make Air Fryer Chicken Chunks
Quick Overview
These air fryer chicken chunks are incredibly easy to whip up, even on your busiest weeknights. The process is straightforward: cut, season, coat, and air fry. You’ll love how the chicken stays juicy while developing that perfect crispy coating. The simple breading technique ensures every piece is evenly coated for maximum crunch.
Time Breakdown:
- Prep Time: 10 minutes
- Cook Time: 12-15 minutes
- Total Time: 25 minutes
- Servings: 4 people
Key Ingredients for Air Fryer Chicken Chunks
For the Chicken:
- 1.5 lbs boneless, skinless chicken breasts (or thighs for juicier chunks)
- 1 cup all-purpose flour
- 2 large eggs
- 1 cup panko breadcrumbs
- ½ cup regular breadcrumbs (for extra crunch)
- ½ cup grated Parmesan cheese
Seasonings:
- 1 teaspoon garlic powder
- 1 teaspoon onion powder
- 1 teaspoon paprika (smoked or regular)
- ½ teaspoon black pepper
- 1 teaspoon salt
- ½ teaspoon cayenne pepper (optional, for heat)
- 1 teaspoon Italian seasoning
For Cooking:
- Cooking spray or olive oil spray
- Optional: 1 tablespoon olive oil for coating

Step-by-Step Instructions
Step 1: Prepare Your Chicken
Start by patting your chicken breasts completely dry with paper towels. This is crucial for getting that crispy coating to stick properly. Cut the chicken into bite-sized chunks, about 1 to 1.5 inches each. Try to keep them relatively uniform in size so they cook evenly. I usually get about 20-25 chunks from 1.5 pounds of chicken. Place the cut chicken in a large bowl and set aside.
Step 2: Set Up Your Breading Station
Grab three shallow bowls or dishes for your breading station. In the first bowl, add the flour and season it with half a teaspoon of salt and a pinch of black pepper. In the second bowl, crack your eggs and whisk them thoroughly until they’re completely combined—you want that egg wash smooth and uniform. In the third bowl, combine the panko breadcrumbs, regular breadcrumbs, Parmesan cheese, garlic powder, onion powder, paprika, Italian seasoning, remaining salt, black pepper, and cayenne if you’re using it. Mix this breadcrumb mixture really well so all the seasonings are evenly distributed.
Step 3: Coat the Chicken Chunks
Now comes the fun part! Take each chicken chunk and coat it in the flour, shaking off any excess. Then dip it into the egg wash, making sure it’s completely coated. Finally, press it into the breadcrumb mixture, really pressing those crumbs onto the chicken so they stick. Place the coated chunk on a plate and repeat with all the remaining chicken. Don’t rush this step—a good coating makes all the difference between mediocre and magnificent chicken chunks.
Step 4: Preheat Your Air Fryer
Preheat your air fryer to 400°F (200°C) for about 3-5 minutes. This ensures the chicken starts cooking immediately when you put it in, helping to create that crispy exterior we’re after.
Step 5: Arrange in the Air Fryer
Spray your air fryer basket generously with cooking spray to prevent sticking. Arrange the chicken chunks in a single layer, making sure they’re not touching or overlapping. Leave a little space between each piece for proper air circulation. Depending on your air fryer size, you might need to cook in batches. Lightly spray the tops of the chicken chunks with cooking spray too—this helps them get extra crispy.
Step 6: Air Fry to Golden Perfection
Cook the chicken chunks at 400°F for 12-15 minutes, flipping them halfway through at the 6-7 minute mark. You’ll know they’re done when they’re golden brown and crispy on the outside and reach an internal temperature of 165°F. If you’re cooking in batches, keep the first batch warm in a 200°F oven while you finish the rest.
Step 7: Rest and Serve
Once done, remove the chicken chunks from the air fryer and let them rest for 2-3 minutes. This allows the juices to redistribute, keeping them moist and tender. Serve immediately while they’re hot and crispy!
What to Serve Air Fryer Chicken Chunks With
These versatile chicken chunks pair beautifully with so many sides! Here are my favorite combinations:
Classic Dipping Sauces: Ranch dressing, honey mustard, BBQ sauce, buffalo sauce, or a creamy garlic aioli all work wonderfully. I personally love mixing equal parts mayo and sriracha for a spicy kick.
Fresh Salads: Serve them over a Caesar salad, mixed greens with vinaigrette, or a crunchy Asian slaw. The crispy chicken adds the perfect protein punch to any salad.
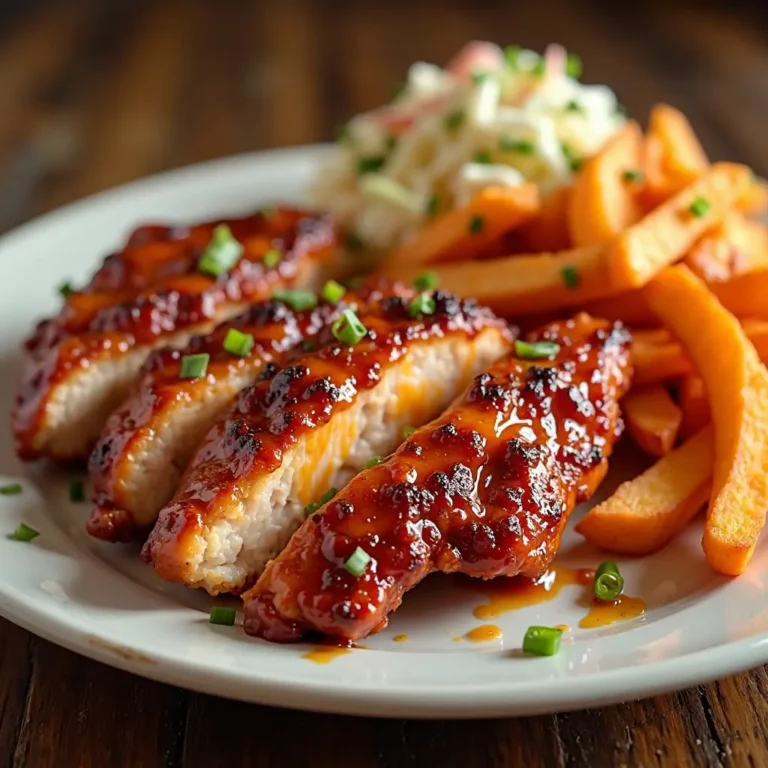
Comfort Food Sides: Pair with mac and cheese, garlic mashed potatoes, roasted vegetables, or crispy french fries for a satisfying meal. Sweet potato fries are especially delicious alongside these!
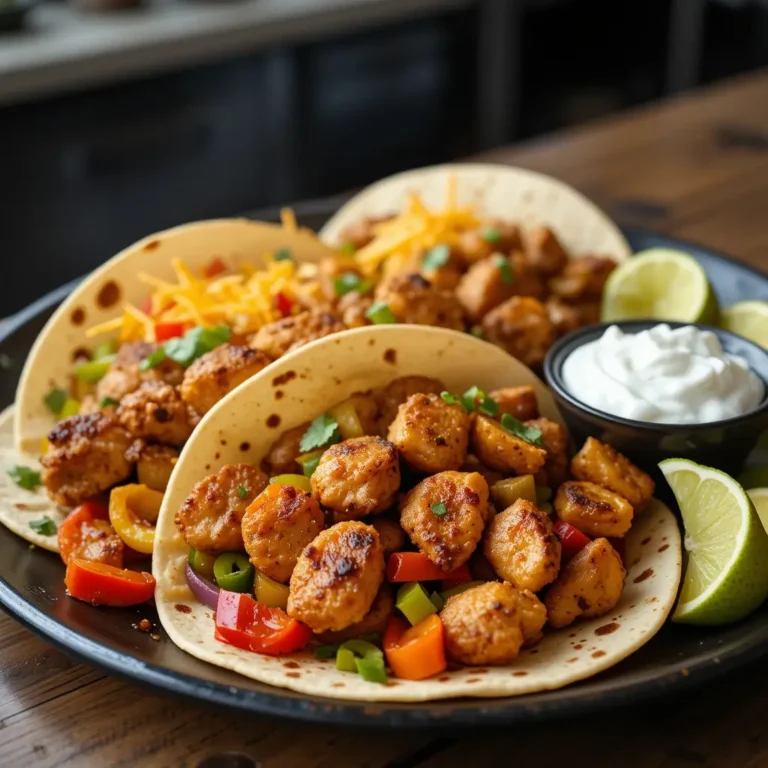
Wrap It Up: Stuff them into tortillas with lettuce, tomatoes, and your favorite sauce for quick chicken wraps. Or load them into pita bread with tzatziki for a Mediterranean twist.
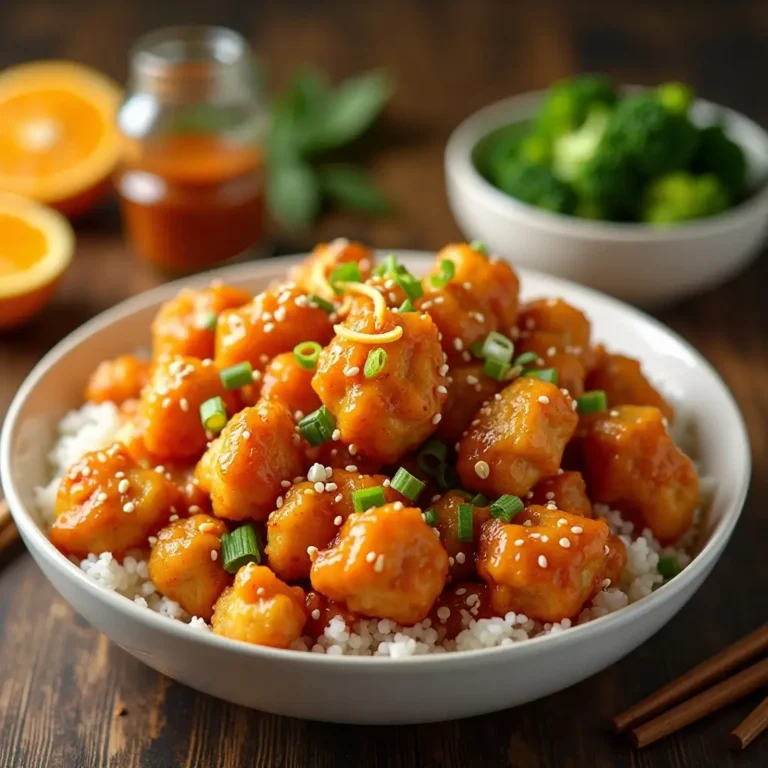
Rice and Grains: Serve over fluffy white rice, cilantro lime rice, quinoa, or couscous with a side of steamed broccoli for a balanced meal.
Top Tips for Perfecting Air Fryer Chicken Chunks
Pat the Chicken Dry Thoroughly
Moisture is the enemy of crispiness. Take an extra minute to really dry those chicken pieces with paper towels. Any excess moisture will create steam in the air fryer, resulting in soggy coating instead of that crispy crunch we’re after.
Don’t Skip the Preheat
Preheating your air fryer ensures the chicken starts cooking at the right temperature immediately. It’s like preheating your oven—it makes a real difference in the final texture and helps prevent sticking.
Avoid Overcrowding the Basket
I know it’s tempting to cook everything at once, but overcrowding leads to steaming instead of crisping. The hot air needs to circulate around each piece. Cook in batches if necessary—it’s worth the extra few minutes for perfectly crispy results.
Use the Right Breadcrumb Combo
The combination of panko and regular breadcrumbs creates the ultimate texture—panko gives you those crispy, crunchy bits while regular breadcrumbs fill in the gaps for complete coverage. Don’t substitute all panko or all regular breadcrumbs; the mix is key.
Spray with Oil for Extra Crispiness
Even though the air fryer uses less oil, a light spray of cooking oil on the coated chicken before cooking helps achieve that deep-fried texture and golden color. Don’t skip this step!
Check Temperature, Not Just Time
Different air fryers cook at slightly different rates. Always use a meat thermometer to ensure your chicken reaches 165°F internally. Undercooked chicken is unsafe, but overcooked chicken is dry and tough.
Flip Halfway for Even Cooking
Flipping the chicken chunks at the halfway point ensures both sides get evenly crispy and golden. It only takes a second and makes a noticeable difference in the final result.
Storing and Reheating Tips
Refrigerator Storage: Let the chicken chunks cool completely to room temperature, then store them in an airtight container lined with paper towels to absorb any moisture. They’ll stay fresh in the refrigerator for up to 4 days. Keep them separated from any sauces to maintain their crispiness.
Freezing for Later: These chicken chunks freeze beautifully! Arrange cooled chicken chunks on a baking sheet and freeze until solid (about 2 hours), then transfer to a freezer-safe bag or container. This prevents them from sticking together. They’ll keep in the freezer for up to 3 months. Label with the date so you remember when you made them.
Reheating for Best Results: The air fryer is your best friend for reheating too! Preheat your air fryer to 350°F and cook the chicken chunks for 3-5 minutes until heated through and crispy again. If reheating from frozen, add an extra 2-3 minutes. You can also use the oven at 375°F for 8-10 minutes. Avoid the microwave if possible—it makes them soggy and ruins that crispy coating we worked so hard to achieve.
Nutrition Information
| Nutrient | Per Serving (4 oz) |
|---|---|
| Calories | 285 |
| Protein | 32g |
| Total Fat | 8g |
| Saturated Fat | 2g |
| Carbohydrates | 18g |
| Fiber | 1g |
| Sugar | 1g |
| Sodium | 520mg |
| Cholesterol | 125mg |
Note: Nutrition values are approximate and may vary based on specific ingredients used.
Common Mistakes to Avoid
Using Chicken That’s Too Wet
This is the number one mistake I see people make. If your chicken isn’t completely dry before coating, the breading won’t adhere properly and you’ll end up with patches of bare chicken or soggy spots. Take the time to thoroughly pat each piece dry.
Cutting Pieces Too Large
When chunks are too big, the outside can overcook while the inside remains undercooked. Keep your pieces between 1 to 1.5 inches for the most even cooking. Think nugget-sized, not tender-sized.
Not Pressing the Breadcrumbs On
Gently dipping chicken in breadcrumbs isn’t enough. You need to actually press and pat the coating onto the chicken so it adheres well. Use your hands to really pack those crumbs on!
Opening the Air Fryer Too Often
Every time you open the air fryer, you release heat and extend the cooking time. Resist the urge to check constantly. Open it once at the halfway point to flip, and then leave it alone until the timer goes off.
Using Low-Quality Breadcrumbs
Stale or low-quality breadcrumbs can result in a bland, dense coating. Fresh panko breadcrumbs are worth the investment—they create that light, crispy texture that makes these chunks so addictive.
Forgetting to Season the Flour
Many people season the breadcrumb mixture but forget about the flour. Seasoning each layer of the breading station ensures every bite is flavorful, not just the coating.
Not Letting Them Rest After Cooking
Cutting into the chicken immediately after cooking releases all those precious juices. Give them 2-3 minutes to rest and you’ll have much juicier chicken chunks.
Frequently Asked Questions
Can I use chicken thighs instead of chicken breasts?
Absolutely! Chicken thighs actually work wonderfully for this recipe. They’re naturally more moist and flavorful than breasts, which means even juicier chicken chunks. The cooking time remains the same, but thighs are more forgiving if you accidentally cook them a minute or two longer. Just make sure to cut them into similar-sized pieces as you would with breasts.
Do I need to use oil in the air fryer?
While air fryers use significantly less oil than traditional frying, a light spray of oil really helps achieve that crispy, golden exterior. You don’t need to drench the chicken, just a light mist on top before cooking. If you’re trying to avoid oil completely, you can skip it, but expect a less crispy result.
Why isn’t my coating staying on the chicken?
This usually happens for a few reasons: the chicken wasn’t dry enough, you didn’t press the breadcrumbs firmly onto the chicken, or you skipped the egg wash step. Make sure to follow the three-step breading process (flour, egg, breadcrumbs) and really press those crumbs on. Also, letting the breaded chicken rest for 5 minutes before air frying can help the coating set.
Can I make these ahead of time?
You can definitely prep ahead! Coat the chicken chunks and place them on a baking sheet lined with parchment paper. Cover and refrigerate for up to 4 hours before cooking. This actually helps the coating adhere better. Don’t bread them more than 4 hours in advance though, or the coating can become soggy.
What temperature should I cook them at?
400°F (200°C) is the sweet spot for air fryer chicken chunks. This temperature is hot enough to create a crispy exterior quickly while keeping the inside juicy. Lower temperatures will dry out the chicken before it gets crispy, and higher temperatures might burn the coating before the chicken cooks through.
How do I know when they’re fully cooked?
The safest way is to use a meat thermometer—chicken should reach 165°F internally. Visually, they should be golden brown all over, and when you cut into one, the juices should run clear with no pink remaining. If you’re unsure, it’s always better to check with a thermometer.
Can I make these gluten-free?
Yes! Simply substitute the all-purpose flour with a gluten-free flour blend and use gluten-free breadcrumbs instead of regular breadcrumbs. The texture will be slightly different, but they’ll still be delicious and crispy. Crushed gluten-free cornflakes also make an excellent coating alternative.
What’s the best way to get them extra crispy?
For maximum crispiness, make sure to spray the coated chicken with oil before cooking, don’t overcrowd the basket, and consider adding a tablespoon of cornstarch to your flour mixture. The cornstarch helps create an extra-crispy coating. Also, make sure your air fryer is fully preheated before adding the chicken.
Can kids help make these?
This is a great recipe for kids to help with! They can help cut the chicken (with supervision), set up the breading station, and coat the chicken pieces. It’s a fun, hands-on activity that gets them involved in cooking. Just make sure an adult handles the hot air fryer.
Why are my chicken chunks dry?
Overcooking is the main culprit for dry chicken. Make sure you’re not cooking them longer than 15 minutes and check the internal temperature—as soon as it hits 165°F, they’re done. Using chicken thighs instead of breasts can also help prevent dryness since they have more fat. Another tip: don’t cut the pieces too small, as tiny pieces dry out faster.
There you have it—the ultimate guide to making perfect air fryer chicken chunks! These crispy, flavorful bites have become a weekly staple in my house, and I have a feeling they’ll become one in yours too. The beauty of this recipe is how adaptable it is to your taste preferences and dietary needs. Whether you’re making them for a quick weeknight dinner, meal prepping for the week, or serving them at a party, they’re always a hit.
What I love most about these chicken chunks is how they bring everyone to the table with smiles. There’s something about that perfect crunch combined with tender, juicy chicken that just makes people happy. And knowing you’re serving something healthier than deep-fried alternatives makes it even better.
So grab your air fryer, get that chicken ready, and prepare for some serious compliments. Don’t forget to serve them with your favorite dipping sauces—I swear they taste even better when you can dunk them in something delicious!